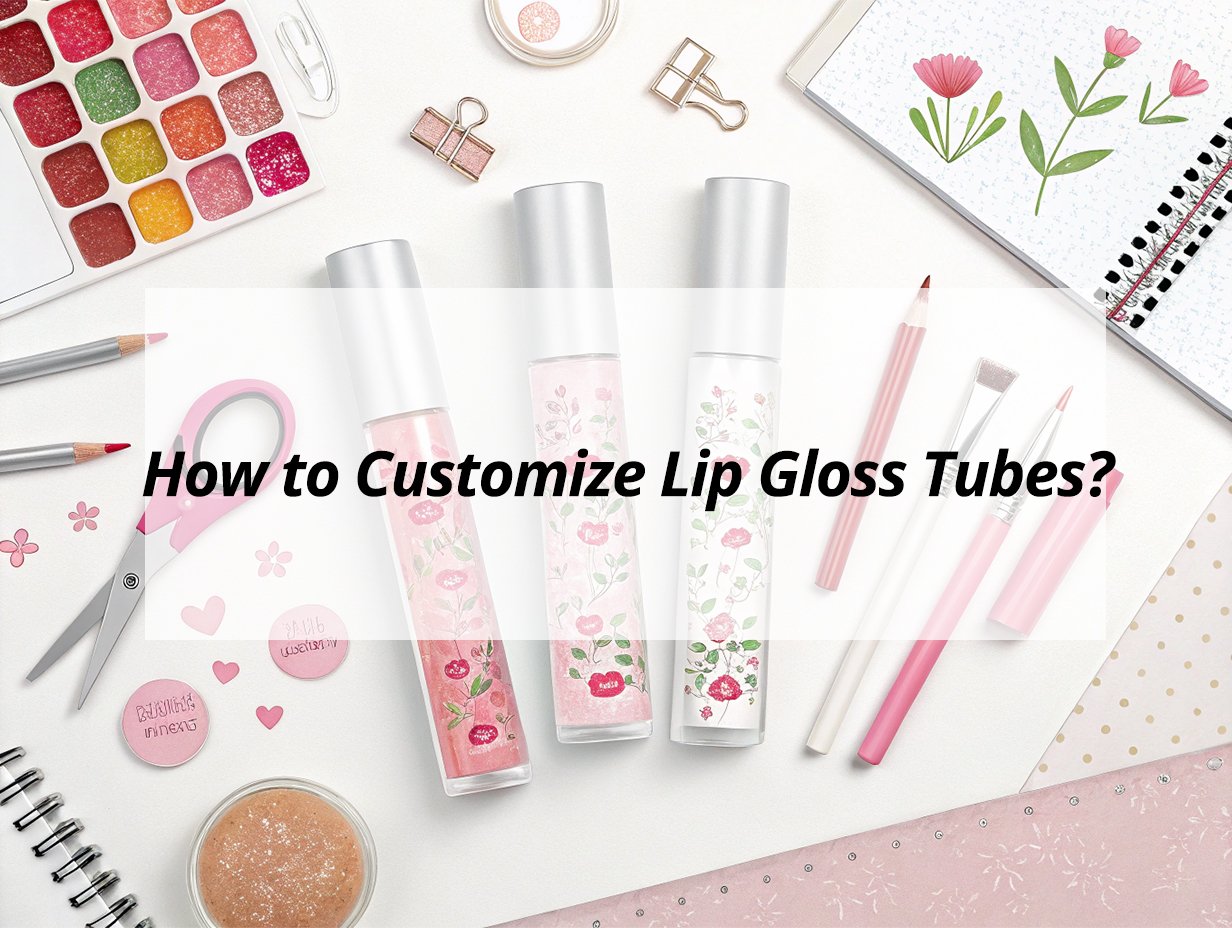
Packaging creates a memorable brand experience. Customized lip gloss tubes convey your brand’s story, ensuring they stand out on the shelf effectively.
The best way to customize lip gloss tubes is by selecting durable materials, incorporating unique shapes, and adding personalized logos. Consider eco-friendly options for sustainability and special finishes for a standout look.
By carefully selecting each element of your packaging, you cater to your audience’s preferences and enhance your brand identity.
What's the best way to label lip gloss tubes?
Labeling your lip gloss tubes effectively communicates your brand message and product information. It's a critical element in the consumer's buying decision.
To label lip gloss tubes optimally, use high-quality prints or engravings1 for logos, ensure labels adhere to cosmetic guidelines2, and utilize body-safe inks. This approach boosts brand recognition and compliance.
Labeling Techniques
Labeling is an opportunity to reinforce your brand identity and convey essential product details.
| Aspect | Description |
|---|---|
| Materials | Durable materials like PET or glass. |
| Methods | Laser engraving or foil stamping for premium feel. |
| Design | Clear, concise labeling adhering to regulations. |
| Aesthetics | Matte or gloss finishes to match branding and attract target market. |
Labeling is more than just words on a package; it is a testament to your brand’s promise. With the right techniques, your products gain a visual voice that speaks clearly to consumers.
How to create your own lip gloss brand?
Creating a lip gloss brand involves more than product formulation. It’s about developing a concept that resonates with your market.
Start with a clear brand concept by defining your target audience3, desired aesthetics, and packaging message. Choose tube shapes and materials that align with your brand and ensure formula compatibility.
Brand Creation
The journey to creating a brand requires a strategic approach:
| Consideration | Detail |
|---|---|
| Target Audience | Define whether they seek luxury, playfulness, or minimalism. |
| Materials & Shapes | Opt for slim, curved, or square; use PET or PMMA for transparency. |
| Brand Consistency | Maintain coherence across products to build trust and recognition. |
Crafting a lip gloss brand is a blend of art and science. By aligning every aspect from aesthetics to function, you build an identity that resonates with consumers and endures in the market.
Do I need FDA approval to sell lip gloss?
Navigating regulations is crucial to legally selling your lip gloss products.
FDA approval isn't required for selling lip gloss, but compliance with cosmetic guidelines is essential. This includes proper labeling and safe ingredient use.
Regulatory Compliance
Understanding regulations helps in maintaining compliance and avoiding legal issues:
- Ingredient Safety: Ensure all ingredients meet safety standards and are toxin-free for consumer trust.
- Labeling Requirements: Include accurate ingredient lists and allergen information to prevent disputes.
- Safety Standards: Regular product safety testing ensures consumer satisfaction and prevents hazards.
Compliance isn't just about following rules; it's about building trust. By ensuring that all regulations are met, your brand gains credibility and fosters consumer loyalty.
How to formulate your own lip gloss?
Formulating your lip gloss involves creativity and attention to consumer preferences.
To formulate your own lip gloss, blend quality ingredients that align with your brand values, ensure stability with packaging, and test for consistency and safety.
Formulation Process
Creating a formula that resonates with your audience involves several careful considerations:
| Factor | Explanation |
|---|---|
| Ingredient Selection | Choose components for desired texture and shine; consider natural options. |
| Packaging Compatibility | Ensure formula works well with tube material to avoid reactions. |
| Testing & Validation | Conduct stability and shelf-life tests to maintain product quality. |
| Market Trends | Stay relevant with eco-friendly or vegan options for conscious consumers. |
By focusing on these aspects, you deliver a product that not only meets but exceeds consumer expectations, reinforcing your position in the market.
My insights: Customize Lip Gloss Tubes
Stand out in the competitive beauty market by customizing lip gloss tubes that reflect your brand’s unique style and captivate your audience.
Customizing lip gloss tubes involves selecting unique shapes and sizes, custom colors, personalized labels, and special finishes. Add elements like logo embossing, innovative applicators, and eco-friendly materials to enhance brand differentiation.
Steps to Customize Lip Gloss Tubes
Design and Material Choices
- Shape and Size: Choose distinctive designs that align with your brand identity.
- Color and Finish: Select custom colors for both tube and cap, with finishes like matte or gloss for visual appeal.
| Aspect | Options |
|---|---|
| Shape & Size | Unique, brand-aligned designs |
| Color & Finish | Custom colors, matte or gloss finishes |
Creative Enhancements
- Decorative Elements: Use rhinestones, pearls, or custom decals to add a touch of luxury.
- Logo and Labels: Add personalized embossing or debossing to reinforce brand recognition.
Functional and Eco-Friendly Features
- Applicators: Incorporate innovative, spill-proof designs to improve user experience.
- Sustainable Materials: Opt for eco-friendly options to appeal to conscious consumers.
Collaboration with Manufacturers
Work closely with manufacturers to ensure your design vision is realized. Whether selecting stock designs or creating bespoke options, collaboration ensures high-quality, tailored results. Customization not only enhances product appeal but also strengthens brand identity, driving consumer engagement and loyalty.
Conclusion
Customizing lip gloss tubes effectively combines brand appeal with practical function. By focusing on materials, design, and compliance, your packaging becomes a powerful extension of your brand.